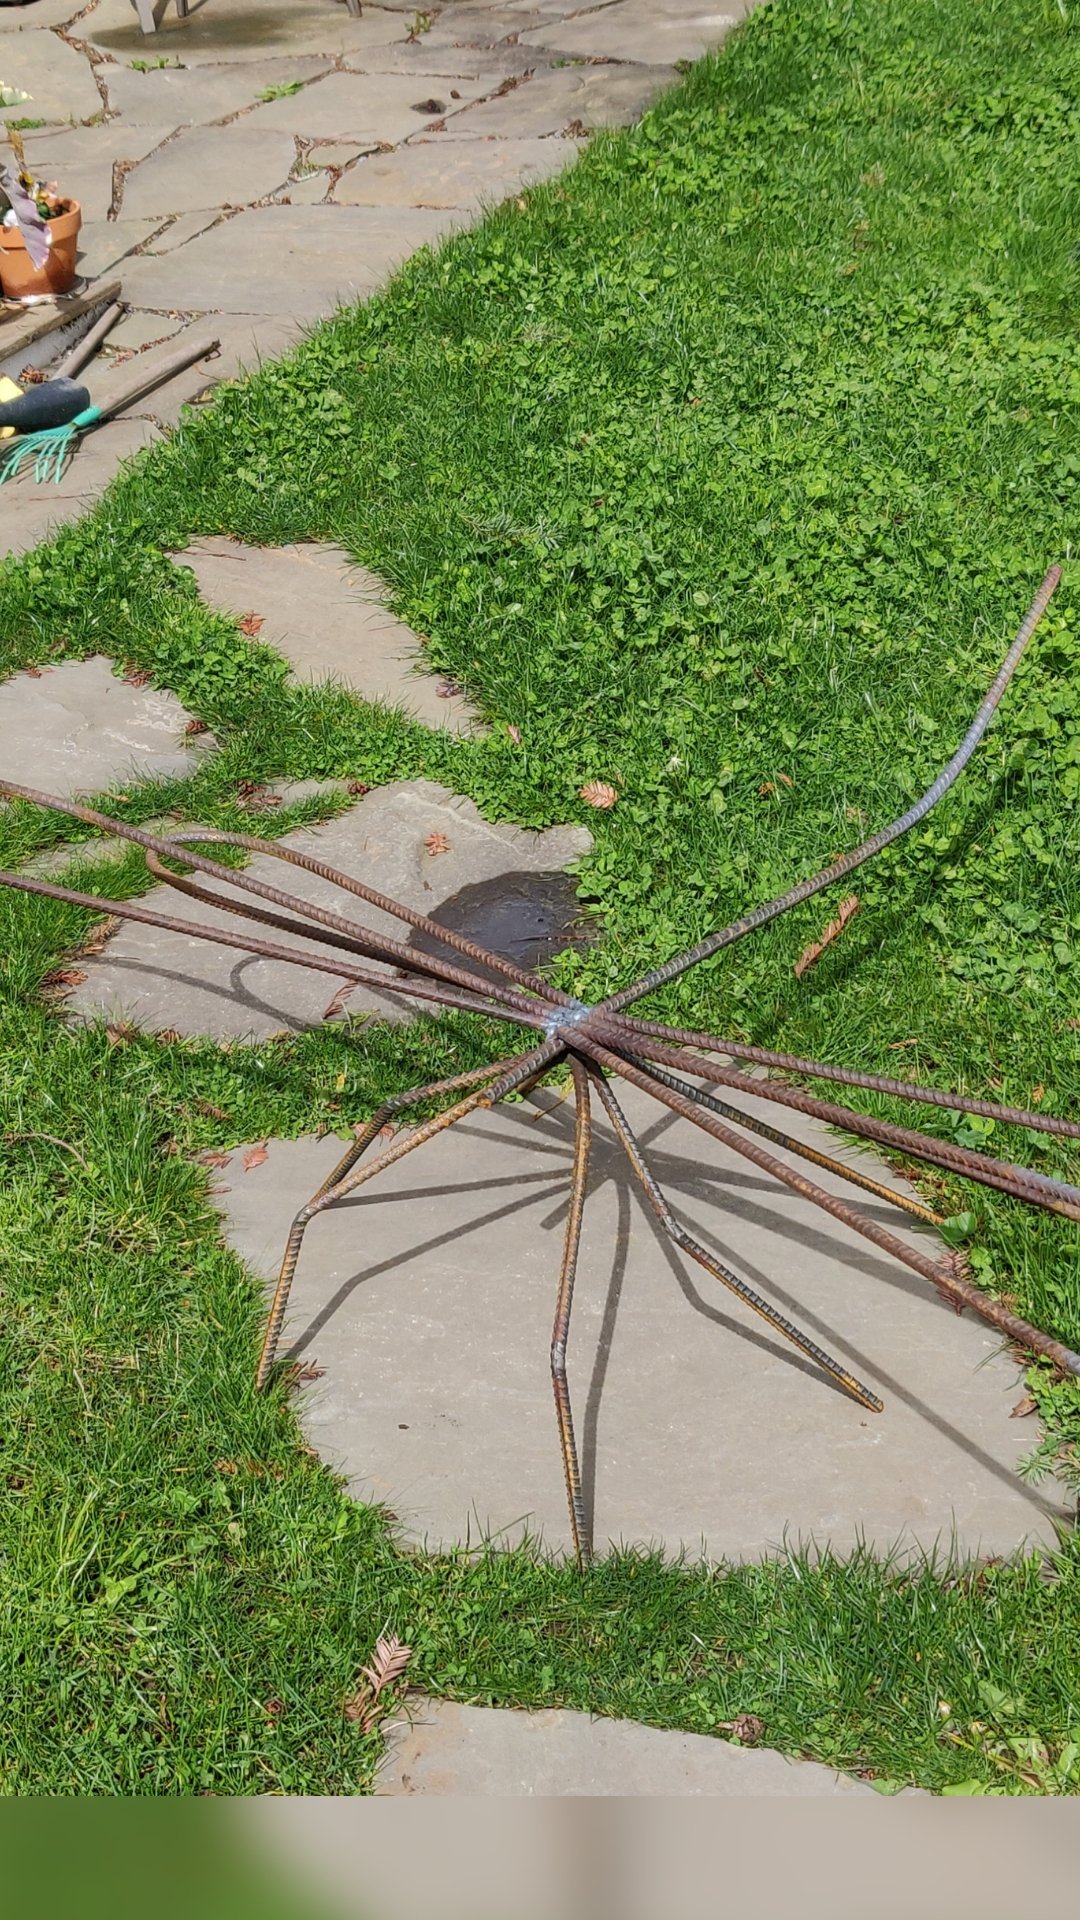
When a neighbor offers you 12x 20′ pieces of 1/2″ rebar, you need to find interesting things to do with it.
-

When in Ballard, you need to visit to Troll -

Cheering on the young runners at Dunlap Jog-a-thon
When a neighbor offers you 12x 20′ pieces of 1/2″ rebar, you need to find interesting things to do with it.
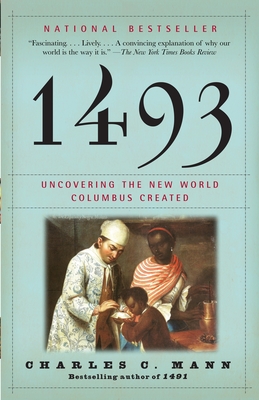
Title: 1493: Uncovering the New World Columbus Created
Author: Charles C. Mann
Completed: Apr 2022 (Full list of books)
Overview: Last year I read 1491, the book that tells the other half of the story. It was an enjoyable read, but long enough that I wasn’t interested in diving into the second half right away. Like the first book, this told a story of an interconnected world with exchange taking place globally in a way that feels far too modern to have started over 500 years ago.
It was a good read, but certainly felt more like a book I should read rather than a book I was excited to read.
Highlights:
For about the last decade, March has meant mustache time… and rarely a standard mustache. For example, this year I’m going with a question mark design: Years ago, some friends had a tradition of growing mustaches for the month. I … Continue reading
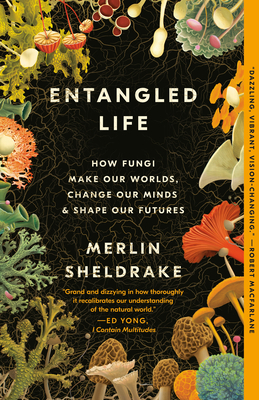
Title: Entangled Life: How Fungi Make Our Worlds, Change Our Minds & Shape Our Futures
Author: Merlin Sheldrake
Completed: Feb 2022 (Full list of books)
Overview: In college, my partner took a mycology course. One evening I arrived home to hear, “Quick, jump under the covers with me. I want to show you something.” I was somewhat disappointed to learn the thing I was being shown was a fungus that glows in the dark and under the covers was the only place in our apartment that was dark enough to see the glow. This book contained a lot of similarly nerdy fascination with all aspects of the fungi world from fermentation to composting cigarette butts to breaking down nuclear waste to planning subway lines. Since that memorable evening under the covers, I’ve grown to appreciate fungi much more and thoroughly enjoyed learning about what they are capable of doing. This was an fun read… but I’d still be disappointed if my surprise is a glowing fungus.
Highlights:
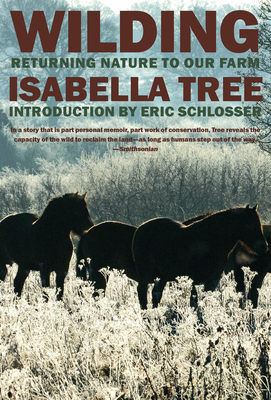
Title: Wilding: The Return of Nature to a British Farm
Author: Isabella Tree
Completed: Jan 2022 (Full list of books)
Overview: Thanks to my wonderful friend Kate for recommending this book. As I started, it felt like a love letter to nature very similar to Sand County Almanac which I read about 20 years ago after going on a month-long snow camping with Kate. Two chapters later, the author started quoting Aldo Leopold to make many of the same points she was making. It was inspirational to hear there is still so much hope for nature to return to farmlands and support many of the species that have been missing for decades. At other times, it felt like a lot of lists: people involved in the project; species that have recolonized their farm; species they wish they could still recruit. Along with her enthusiasm for the work that borders on the same energy of crypto-bros, there were a few sections I wish went a little faster, but overall a very enjoyable read. It also reiterated points made in several other books I’ve read recently about the importance to our mental health of spending time in nature.
Highlights:

Title: A Brief History of Motion
Author: Tom Standage
Completed: Dec 2021 (Full list of books)
Overview: Last book of 2021 and first book after transferring my book notes over to my public website. I enjoyed the way this book complimented many of the topics from Strong Towns and showed how close we were on several occasions to having either a car-free society or cars that ran on something other than fossil fuels. Overall it was a good read. I’ve also read “A History of the World in 6 Glasses” by the same author. He does a good job telling stories but sometimes the stories jump from one point to another with seemingly little connection. Still a fun tale.
Highlights:
Well, we’re now a little over a month into my Year of Fermenting and so far, it’s been going great. We’re starting to sample some of what we’ve made, we’re coming up with plenty of ideas to keep trying throughout the year, and (so far) only one cupboard in the kitchen stinks… and as long as we don’t open the cupboard door, you can’t really notice. So at this point, I wanted to take a minute to reflect on what we’ve attempted and how it’s gone.
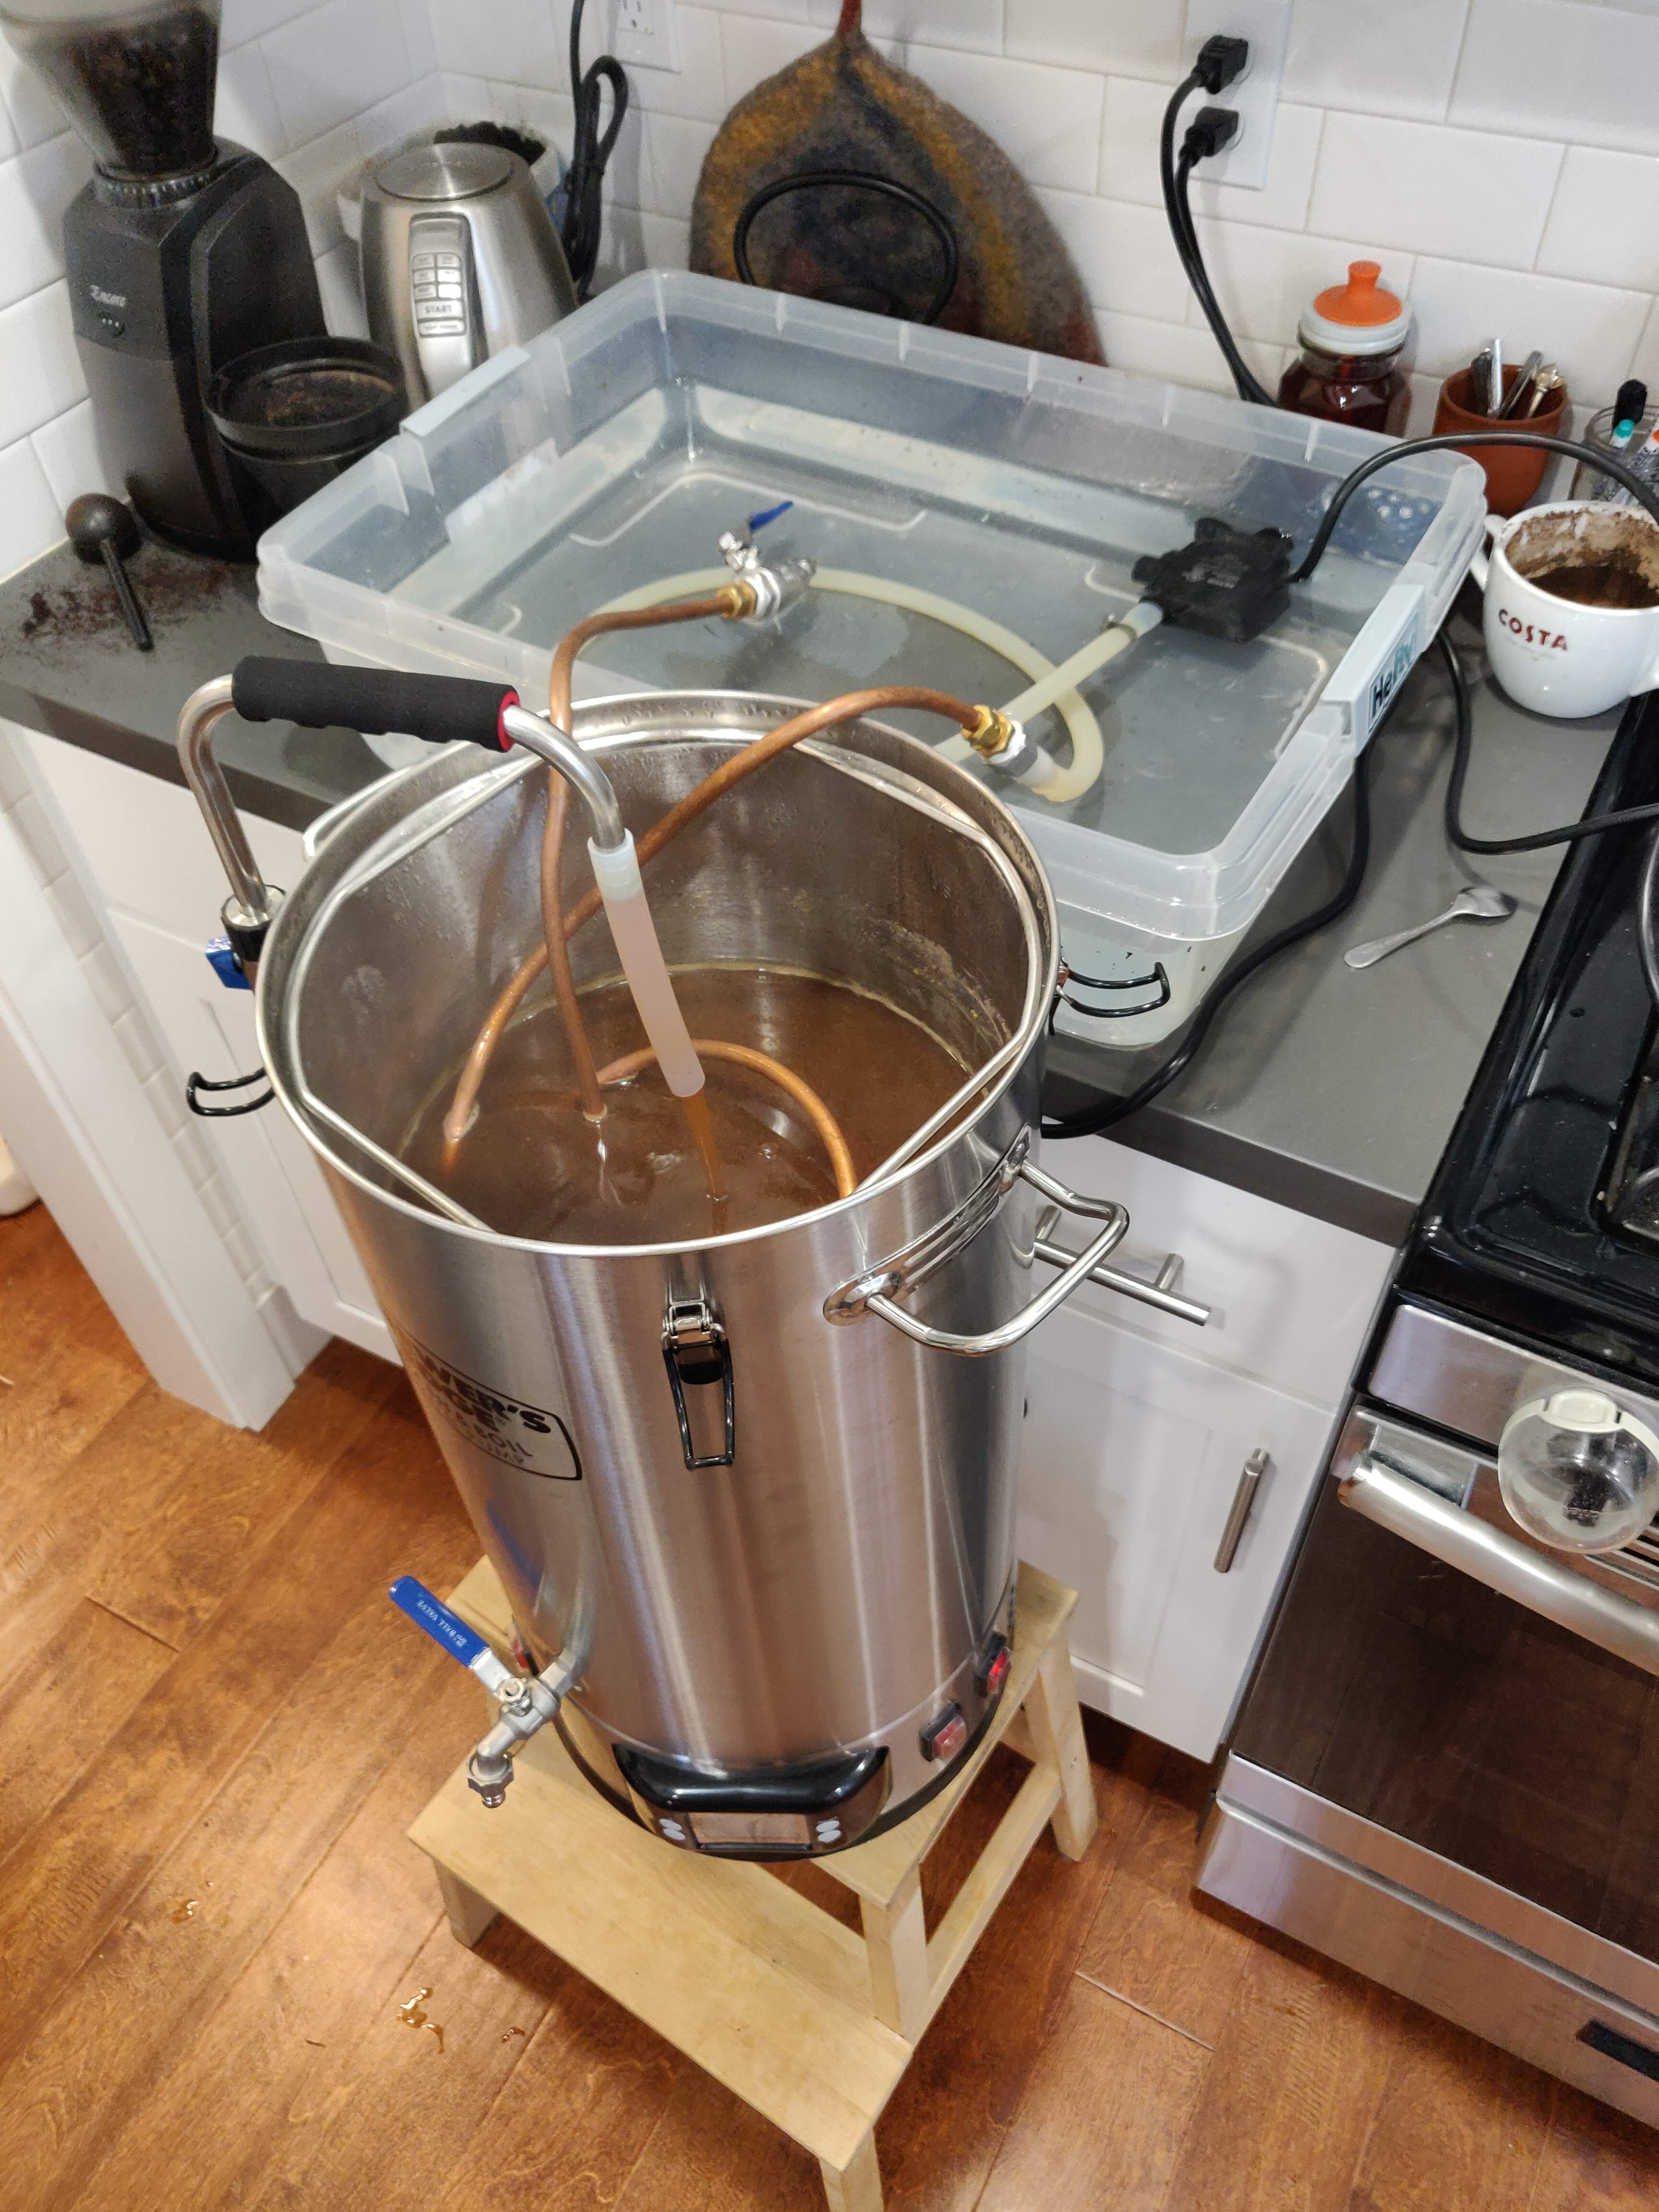
First up was a Brown Ale brewed on New Years Eve with the yeast pitched just after midnight (I wanted to start the year in correct mindset). I brewed a brown ale and someone suggested adding hazelnuts to make a Rogue Hazelnut Brown Nectar clone. I sounded good so I looked around to see what others had tried and found that most people throw in a small amount of “hazelnut flavoring” when they keg it. The next time I was at the store, I wandered down the coffee isle and noticed hazelnut flavored syrup which it turns out is not what they meant by hazelnut flavoring. Oh well. I added a little to the keg before realizing what I’d done wrong then decided to just add a little syrup to each glass when filling pints. Turns out, I like the brown ale, but I’m not a huge fan of the hazelnut so I’ll call this ferment a success with a lucky accident.
Next up, I tried rice beer made with some qu balls we got a year ago at a local Asian market. I steamed some sticky rice, waited for it to cool and added a crushed qu ball. There didn’t seem to be enough liquid so I added a bit of water and eventually the rice started to break down and ferment. One site I saw recommended blending the rice and liquid once fermentation finished so I tried it… Not an approach I’ll try again. Still a pretty good drink but the small amount of rice-free beverage that floats to the top is definitely the best part.
After making a tasty ginger beer, I decided I needed to try something that wasn’t a beverage. We got some serrano peppers and decided to make hot sauce. I used the same technique I’ve used for kimchi (add the peppers and garlic to a jar with salt equal to 2% of their weight and mash it until enough liquid comes out to cover the peppers). It smelled so good while it was fermenting. I kept getting a hint of the peppers and wanting to eat them all. After about two weeks, I blended it all. It was a little too thick to pour so I added some cider vinegar. I’ve been putting it on everything recently and really love the flavor. Next time I’ll skip the vinegar and serve it with a spoon. The vinegar just dilutes the flavor a bit.
We’ve never been big fans of cauliflower in this house. It’s ok, but the only time we usually get it is in the fall to make cauliflower/garlic mash (like mashed potatoes). Well, a few weeks ago our veg box arrived with cauliflower which then sat in the fridge for a week or two. Finally I decided we weren’t going to use it for anything else so I might as well try lacto-fermenting it. I made one large jar with cauliflower, garlic, peppercorns and 3% brine, plus one smaller jar that also had some scotch bonnet powder and Korean chili flakes. They both fermented for a little over a week. We’ve been eating them for less that a week and both jars are almost empty. Cauliflower is on our list for the next veg box.
Finally, I wanted to try something with a longer ferment. I found several different techniques for fermented tofu. Some significantly stinkier than others. I went with a less smelly version and have had it going for about three weeks. From what I understand, after about four weeks, it will have the flavor and consistency of a soft cheese. I can’t wait to try it.
I’ve got many ideas for other fermentation experiments but I’m open to other ideas. Any suggestions for what to ferment next month?
For several years now, I have challenged myself to do something all year. I’ve done a year of running (twice), one of biking/not driving, and one year of getting into open water once a week. This year, I’m trying something different. I recently got more into fermentation so I want to make a new ferment every week of 2021. It might be beer or kimchi or vinegar or ??? The only rules (so far) are that I can’t count the same recipe twice and it must ferment for at least 48 hours. Below is a list of what I’ve fermented so far and I will continue to update it so I have a central location to track my progress.
Update: I’m continuing to ferment a lot more food that I had previously, but not doing a new ferment every week. Most of my ferments are slight variations on earlier ones. There is a lot of slow sourdough, hot sauce, lacto-cauliflower, and sauerkraut/kimchi. They are too tasty to not make. I’m also making hard cider with apples we picked in our neighborhood. I will continue to update this when I do new, unique ferments.
I was recently asked about how to care for a sourdough starter and thought I’d write down what I’ve learned over the years. The very short version is, “If it doesn’t look active, I should feed it.” The longer version is below. I hope it’s helpful.
Sourdough starter is a concentrated collection of wild yeast and bacteria that produce water, ethanol, CO2, acetic acid, and lactic acid along with countless other compounds bakers are less interested in. Simply by providing food for them, these microbes will reproduce in enough quantity to be useful baking bread or other products.
When I look at my starter, I generally think of it in one of three states: active, sleepy, or dead. Active starter will bubble and grow in size within a few hours (1-4ish) of feeding. Sleepy starter happens for a number of reasons we’ll explore below but is generally characterized by slowly bubbling and only showing sign of an increase in volume after 8 or more hours. Finally is dead starter. This shows no signs of activity after a day or more. But, here’s the good news, with all the wild yeast and bacteria in your kitchen, if you keep feeding a starter (even a dead starter), it will be active within a week.
Feeding and care of your starter is something a lot of people fret over. So first thing, relax and don’t overthink it. Remember, the worst thing that could happen is you kill your starter in which case, you feed it for a week and you’re back to an active starter. Next, there are a lot of methods for feeding and care. I’ll explain what works for me, but if it doesn’t work for you, think about the important points listed below and try any method that covers those points and works for your schedule. I typically bake a sourdough loaf every 3 days so I keep my starter active and on the counter. I pull off 100g to start my levain, leaving about 30g in the jar. I add another 50g room temperature tap water and 50g flour (usually bread flour, sometime whole wheat) to the jar with the remaining starter, mix well, cover and ignore until I need it again in three days.
Important points for feeding:
What could possibly go wrong??? If you feed your starter and it isn’t active within 8 hours, what should you do? Feed it again. There are a lot of problems that can happen with starter and most of them are solved by more feedings/discardings. As I mentioned above, if you keep feeding your starter without using or discarding any, the ethanol produced by the yeast as well as the lactic and acetic acids will build up to the point that even the microbes we want are having a hard time surviving. By discarding some and feeding, you bring the pH closer to neutral and remove ethanol. Another problem is that the starter went through all of the food, so you’ll want to feed it.
Temperature can also greatly impact your starter. The microbes in the starter are most active around 90°F. If you go much hotter than this, they will start to die off. We generally want to keep the starter cooler than this because the starter produces better flavor closer to room temperature. If we just think about three main products from starter fermentation (ethanol, lactic acid, and acetic acid), we get more ethanol and lactic acid at higher temperatures with more acetic acid at lower temperatures. Generally we want more balance in the bread with some of all of these flavors. If your starter smells like vinegar (acetic acid), you might want to store it in a warmer place or add slightly warmer water when feeding. If it smells boozy (ethanol) or slightly of yogurt (lactic acid), you might want to try to keep it a bit cooler. My starter sits on the counter which means I get slightly different flavor breads in the summer versus the winter due to changes in “room temperature”.
Once you’ve got the starter going strong and keep feeding it, everything should take care of itself, but sometime you need to leave it for an extended period and a few things can happen. The obvious thing is that your starter will be very sleepy so you’ll want to feed it. If the starter has been left in the fridge for a couple weeks, you might find a dark liquid floating on top. Don’t worry about it, it’s mostly ethanol. You can stir it back in, but I would just dump the liquid and feed the remaining starter as usual. Finally, if it gets fuzzy, this is unwanted and potentially dangerous mold. The best thing to do is get rid of the starter and begin a new one.

There’s plenty more to learn about starter, if you’re interested, but for most home bakers, any additional knowledge is to satisfy your curiosity. Know much beyond, “If it doesn’t look active, I should feed it” isn’t really needed to bake great bread. That said, this article gets pretty geeky pretty fast. Also, the above graphic provides some interesting information. Remember to relax because the starter will naturally survive with very little input from you… but also know, sometime a starter dies. It’s not a big deal, just leave some flour and water on the counter, feed it daily, and within a week you’ll have starter again. Finally, don’t cherish your starter too much. Even if the starter has “been in the family for 400 years”, after a month in your kitchen, the microbes in the starter are no different from a wild starter you caught in your kitchen. The local microbes will out compete the others so a starter that’s two weeks old is just as good as one that you’ve had for decades.
Have fun with it and happy baking
Update Aug 2024: I’ve found another resource that has lots of additional information about sourdough. Check out the Sourdough Framework by theBread.Code(); which has more details than you need to bake but is interesting to learn about bread.
A little over four years ago, I started running every day. I had done that before but never with much success. This time things were different and I managed to run every day for a year. The following year, I biked everywhere. After that, we moved from Boise to Seattle and I decided to jump into open water and swim at least once a week for a year. Then, I had no idea what challenge to do next.
During 2019, I decided to run my first 50 mile race. When I finished, I wasn’t motivated to run much (apparently that happens after a lot of long runs). To get back into running, I decided 2020 would be another run streak year. Well, about 10 days in, I had pain that made it difficult to walk (not a running injury), three months in all my running clubs went on hiatus (along with much of life), nine months in we had air quality so terrible anything that wasn’t closed for covid was shut down, but this afternoon we went to the track to finish out the year with speed.
Leah invited us to run the Flying Lion Run Club Virtual Final Mile 2020.  We found a local high school track that wasn’t locked and our two households met for a timed mile. I hadn’t run a timed mile in a couple of years. Leah had never run one. Avery opted to run it was well. The track only had three lanes (typically six is the minimum while eight is usually required for official events). To ensure that we kept a safe distance apart, Avery, Dom, and I started first. I did two warm-up laps with them before getting ready for my mile. Dom accompanied and cheered on Avery for the final two laps. She crossed the finish line at about 14:30 which is pretty good for a four year old. I went next and hoped to run a 5:30 or a bit faster. While chasing a high school kid in a race a couple months ago, I managed a 5:50 pace for four miles so I thought 5:30 was doable. I completed my first lap in 71 seconds or at a 4:44 pace. Clearly I started a bit too fast. I kept going as well as I could and finished at 5:13 which seems like a great way to finish my year of running. After I picked myself up off the ground, Leah started her mile. She too started a bit fast but put in a great mile as well. She wanted to run a sub-7 minute mile and hoped to hit 6:45. She crossed the line at 6:54 and now knows what a track mile feels like. I’m excited to see how we all do next year.
As for 2021, I was again thinking about what my annual challenge could be. I came up with a lot of different ideas, but none felt quite right. Then, as I was researching a present for Dom, I started discovering all the different ways to ferment and thought it might be fun to do a new ferment each week. I’ve brewed beer, baked sourdough bread, and even got pretty good at making kimchi, but hopefully this will push me to try new ferments. My only rules are: I can only count one recipe once, no matter how many times I make it, and it has to ferment for at least two days (yeast breads with commercial yeast won’t usually count since they are done in hours).
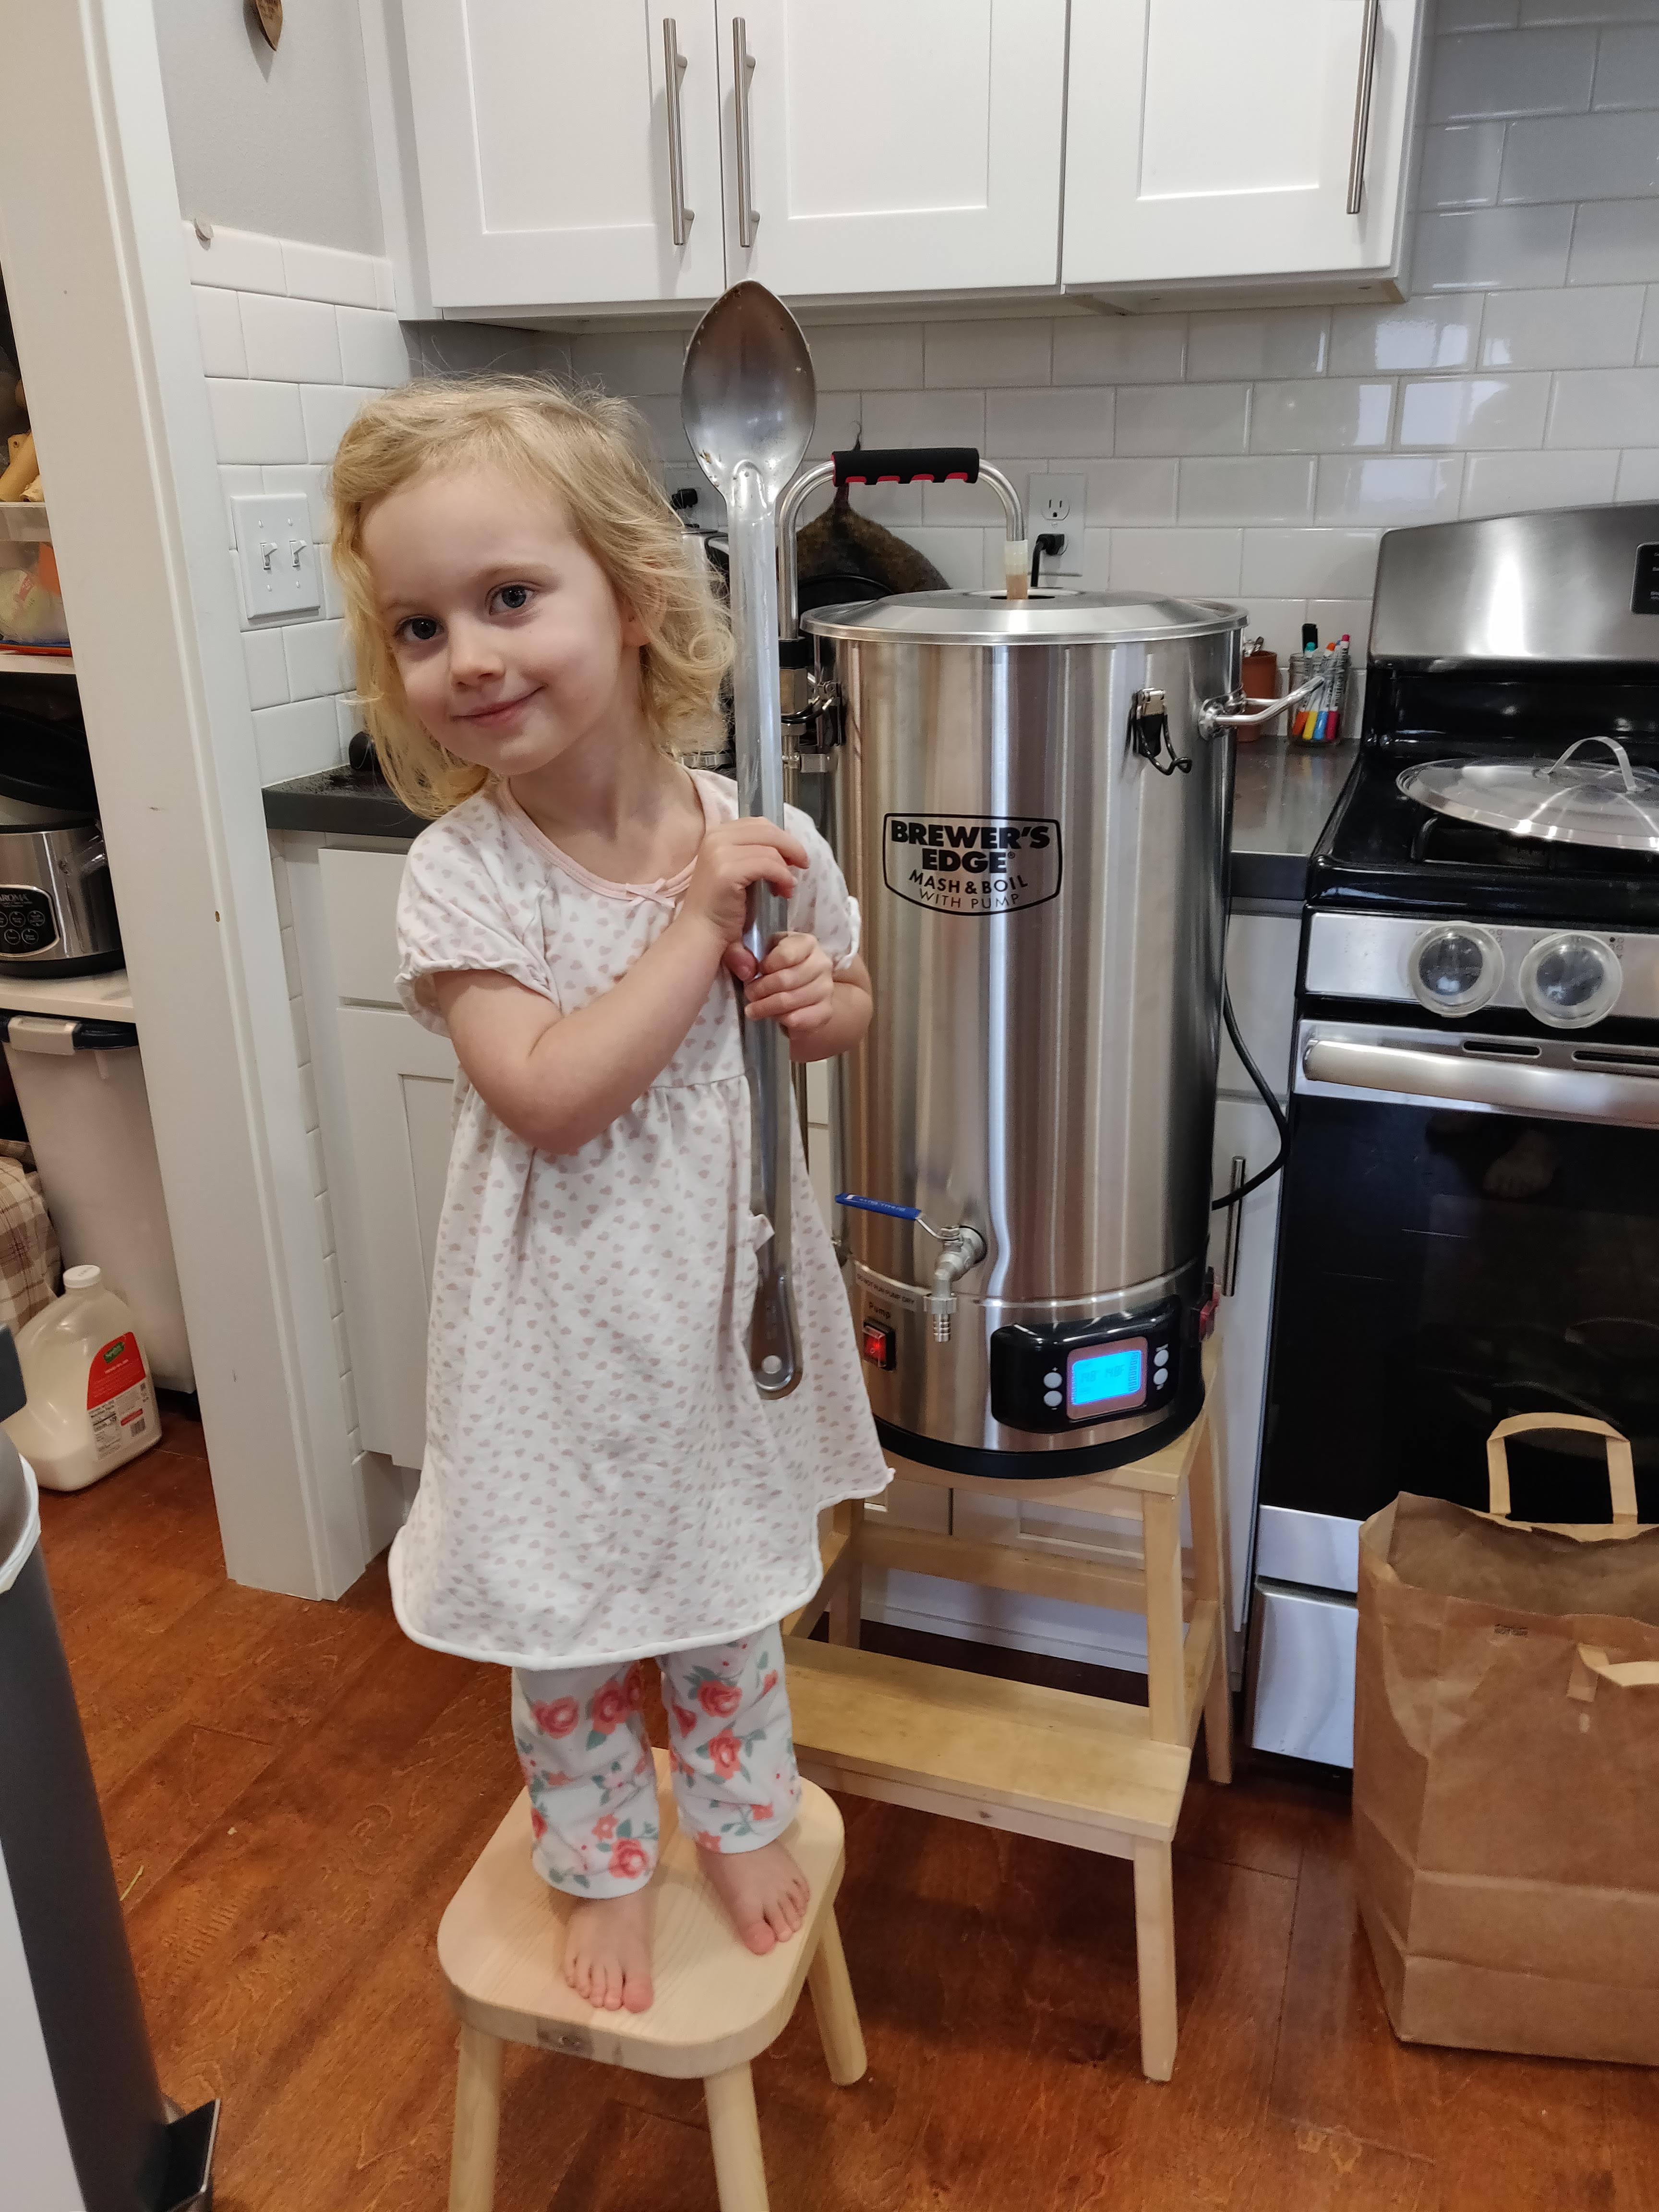
To get the year started well, I brewed a Hazelnut Brown Ale today and once it cools, at 12:01 on Jan 1, 2021, I will pitch the yeast to get that one going. I got to use my electric brewer for the second time and I’m still excited about how easy it makes brewing. Avery even grabbed the brew spoon to help stir the grain. Next year is going to look new and different, hopefully there will be more changes than just switching from running to fermenting.