
I’ve been baking for a while and keeping my sourdough starter going for about two years. During the first 23.5 months, one person asked for some. Since beginning “Stay Home, Stay Safe,” aka COVID lockdown, four nine (as of April 20) different people have asked for some. Since several of them haven’t cared for starter recently and because I want to track what I do to see how it changes over time, this will walk through the entire process from getting starter to making bread. I will probably be vague in places because I know what I mean, but if you see something that isn’t explained as well as it should be, please let me know and I’ll add details.
-

Step 1: Just mixed, note the volume
In a medium bowl, mix 100g starter with 75g bread flour and 75g warm water. Stir, cover, and set aside.
- Add 25g bread flour and 25g water to the starter. Stir, cover, and set aside. If you are likely to bake in the next 4 days, you can leave it on the counter. If it’s going to be at least a week, put it in the fridge.
- Check the bowl every few hours. When bubbles start to pop on the surface, it’s ready to use. This usually takes 8-24 hours depending on the temperature and how active the yeast were when mixed. If in doubt, wait.

Step 3: Very bubbly and much larger
- Empty the bowl into your stand mixer* and add 500g total flour (I like to use about 30g Rye and 30-90g Whole Wheat with the rest being bread flour, but all bread flour or other similar combinations work). Also add 325g warm water, 13g salt, and 1/4 tsp commercial yeast (optional, helps keep the timing consistent).
- Start to mix with the bread hook on a slow setting until all the flour is wet. It will still be lumpy. Turn off mixer and let it rest for 10 minutes.

Step 5: Mixed and still lumpy
- Mix on medium-high speed until the dough is smooth and pulls the dough completely away from the side of the mixer. If in doubt, let it mix longer. More mixing won’t harm the dough. When ready, it should look like this:
- Let the dough rise in the mixer bowl or another bowl on the counter until it doubles in size. This usually take 2-3 hours if you used the optional commercial yeast and 2-24 hours without it.
- Dump the dough onto a floured counter. Stretch the dough until it just starts to create small tears then fold the stretched part back. Rotate 90° and repeat until you’ve done it four times. Each stretch will get a little harder to do and tear a little sooner. (See start of video in next step)
- Form the dough into a ball and stretch the surface by pushing the sides underneath the ball. This video shows steps 8, 9, and 11:
- Line a medium-large bowl with a tightly woven kitchen towel and sprinkle liberally with flour.
- Flip the ball of dough into the bowl so the seam that was on the bottom is now on top.
- Let it rest for 1 hour.
- Preheat the oven to 475° F with the rack on the bottom. Put a large pot (big enough for the dough ball to fit inside with plenty of room) in the oven and allow it to heat.
- Sprinkle a little flour on the seam of the dough ball then flip it over onto a baking sheet. Slice a line, square or X on the top of the bread with a very sharp knife. This helps it expand in the oven.
- Pull the pot out of the oven, flip it over to cover the bread and put it all back into the oven for 30 minutes
- Pull the pot off the bread, lower the temp to 425° F, and bake for another 20 minutes
- Pull the bread out and let it cool completely on a wire rack before cutting it. This helps the center finish cooking
-

Step 18: Feed your yeast
Before baking next time, you need to feed your yeast another 25g flour and 25g water 24 hours before doing Step 1. If the yeast was in the fridge, it might want up to a day of extra time to warm up and get going again before moving on the Step 1 again.
Good luck and please let me know how it goes.
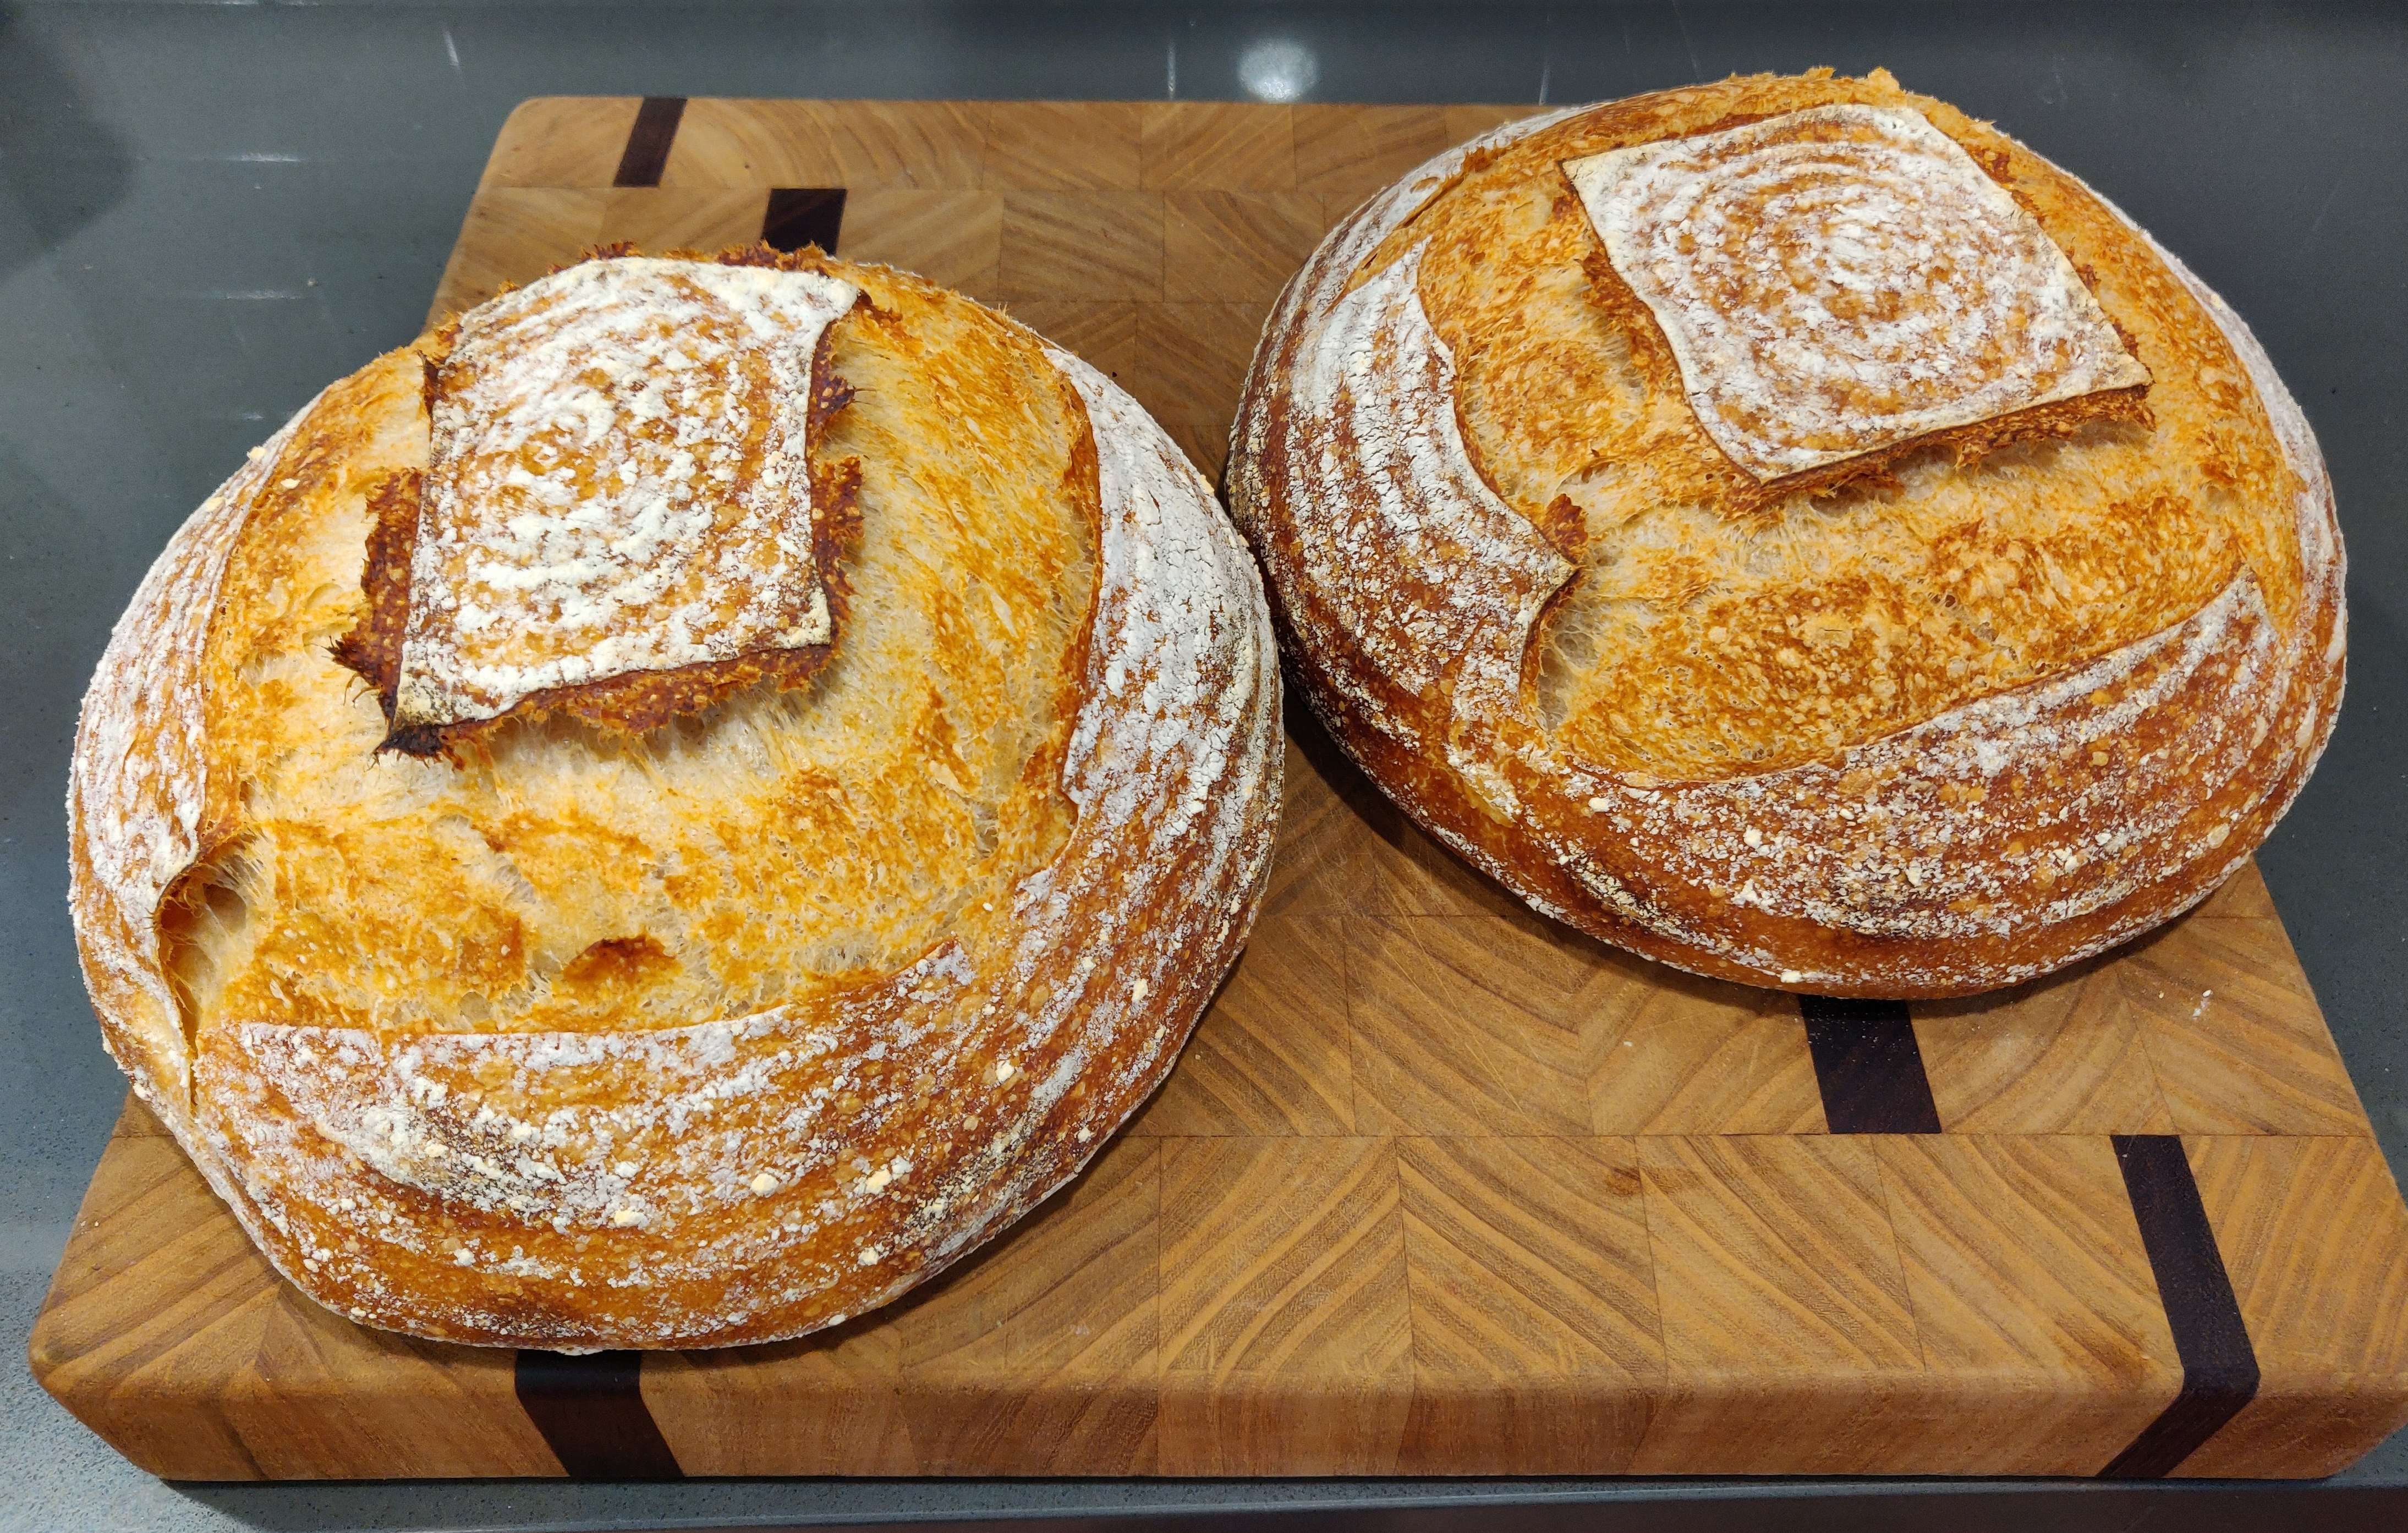
Enjoy the bread
* I like to use a stand mixer but you don’t need to. Without one, mix until the dough is lumpy but there is no dry flour and let it rest for 10 minutes. Then knead it for 1-2 minutes and let it rest for 10. Then knead it once more and you should be good. There are a lot of different techniques for kneading. Note, the dough will start off very sticky and seem like a mess. Given enough time and kneading, it will come together. I recently found this kneading technique and like it, but do what works best for you. YouTube is full of different kneading videos.


