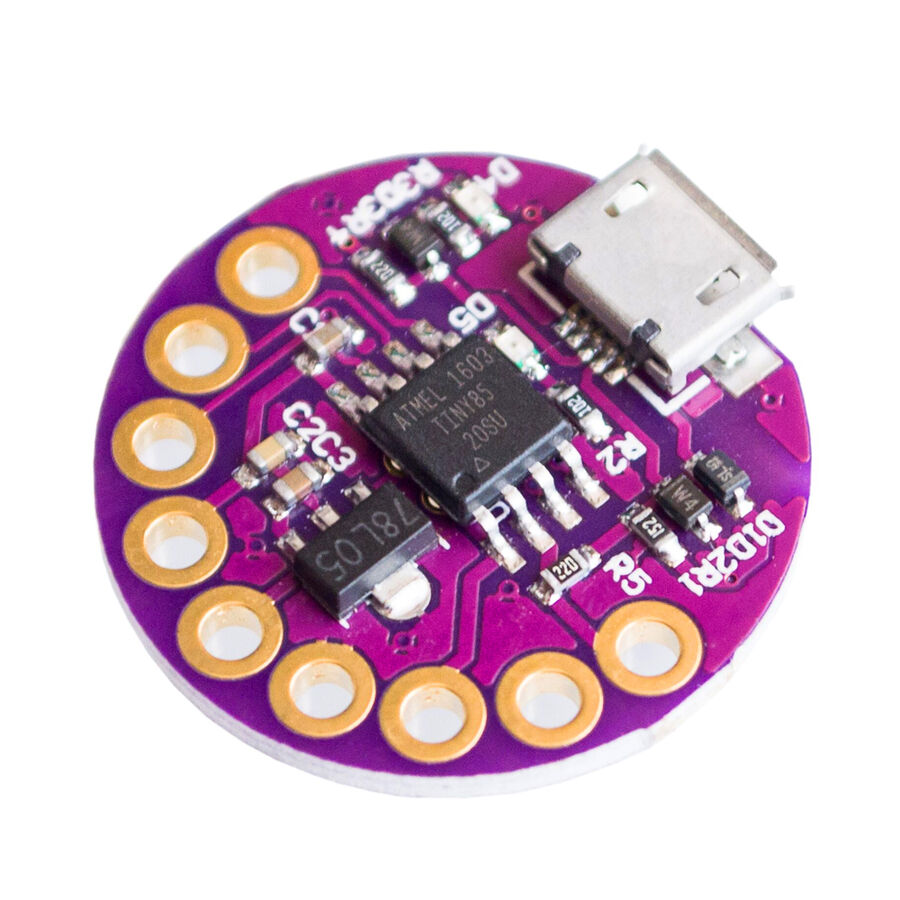
It’s time for ToorCamp again and this year I’m helping people learn to program LilyTiny microcontrollers. You can use these at the Fairie Yurt to control the EL wire (prototyping this currently) or over at the Maker Stage to create wearables with LEDs or sensors. I plan to update this with photos as projects are completed but want to offer the basics for programming here so anyone at Toor can start modifying them.
Also, if you’re at Toor and want to play with one of these, I am giving away plenty. Stop by OlyMEGA and ask.
To program these the first thing you need is to install the Arduino IDE. Next you’ll need the ATTiny85 driver. The Windows Driver is here. Linux didn’t need this but required another step later (see below). I’ll add that and the Mac directions on an update.
Then we need to add this in the Arduino IDE to File >> Preferences >> “Additional Board Managers URLs”: https://home.drownedchipmunk.com/lilypad//package_digistump_index.json Now close the preference window and open Tools >> Board >> Board Manager, search for Digispark, and install the first one. You’re now ready to program. This seems like a lot but if you’re at Toor, I can walk you through it quickly and you can get to the fun part.
Finally, here’s some basic code for the LilyTiny to control LEDs or EL to blink/fade depending on which pin you connect to. Good luck and please share your projects
/* Default program for wearables and sew-ables using the LilyTiny (Lilypad with ATTiny85
 *  Slow and Fast set how long the cycles are
 *  Pin 0: Fast Fade
 *  Pin 1: Slow Fade
 *  Pin 2: Fast Blink
 *  Pin 3: Slow Blink
 *  Pin 4: Random (Not yet implemented)
 */
const int Slow = 2000;
const int Fast = 250;
int Bright;
// the setup function runs once when you press reset or power the board
void setup() {
  // initialize digital pin LED_BUILTIN as an output.
  pinMode(0, OUTPUT);
  pinMode(1, OUTPUT);
  pinMode(2, OUTPUT);
  pinMode(3, OUTPUT);
 // pinMode(4, OUTPUT);
 // pinMode(5, OUTPUT);
}
// the loop function runs over and over again forever
void loop() {
 //Fast Fade on Pin 0
  if((millis()%(Fast*2))>Fast) Bright = map((millis()%Fast), 0, (Fast-1), 0, 255);
  else Bright = map((millis()%Fast), 0, (Fast-1), 255, 0);
  analogWrite(0, Bright);
 //Slow Fade on Pin 1
  if((millis()%(Slow*2))>Slow) Bright = map((millis()%Slow), 0, (Slow-1), 0, 255);
  else Bright = map((millis()%Slow), 0, (Slow-1), 255, 0);
  analogWrite(1, Bright);
 //Fast Blink on Pin 2
  if((millis()%(Fast*2))==0)digitalWrite(2, HIGH);
  if((millis()%(Fast*2))==(Fast))digitalWrite(2, LOW);
 //Slow Blink on Pin 3
  if((millis()%(Slow*2))==0)digitalWrite(3, HIGH);
  if((millis()%(Slow*2))==(Slow))digitalWrite(3, LOW);
}
Linux Installation
In addition to installing the Arduino IDE, adding the json file, and installing the ATTiny85 boards in the Board Manager, you need to do two other thing pointed out on this page. You need to add your username to the dialout group with the following command. (If you already program Arduinos, this step is already done).
sudo adduser $USER dialout
You also need to create the file /etc/udev/rules.d/49-micronucleus.rules and adding the following code to it.
# UDEV Rules for Micronucleus boards including the Digispark.
# This file must be placed at:
#
# /etc/udev/rules.d/49-micronucleus.rules    (preferred location)
#   or
# /lib/udev/rules.d/49-micronucleus.rules    (req'd on some broken systems)
#
# After this file is copied, physically unplug and reconnect the board.
#
SUBSYSTEMS=="usb", ATTRS{idVendor}=="16d0", ATTRS{idProduct}=="0753", MODE:="0666"
KERNEL=="ttyACM*", ATTRS{idVendor}=="16d0", ATTRS{idProduct}=="0753", MODE:="0666", ENV{ID_MM_DEVICE_IGNORE}="1"
#
# If you share your linux system with other users, or just don't like the
# idea of write permission for everybody, you can replace MODE:="0666" with
# OWNER:="yourusername" to create the device owned by you, or with
# GROUP:="somegroupname" and mange access using standard unix groups.
If you need additional details, the linked page above provides more insight.


